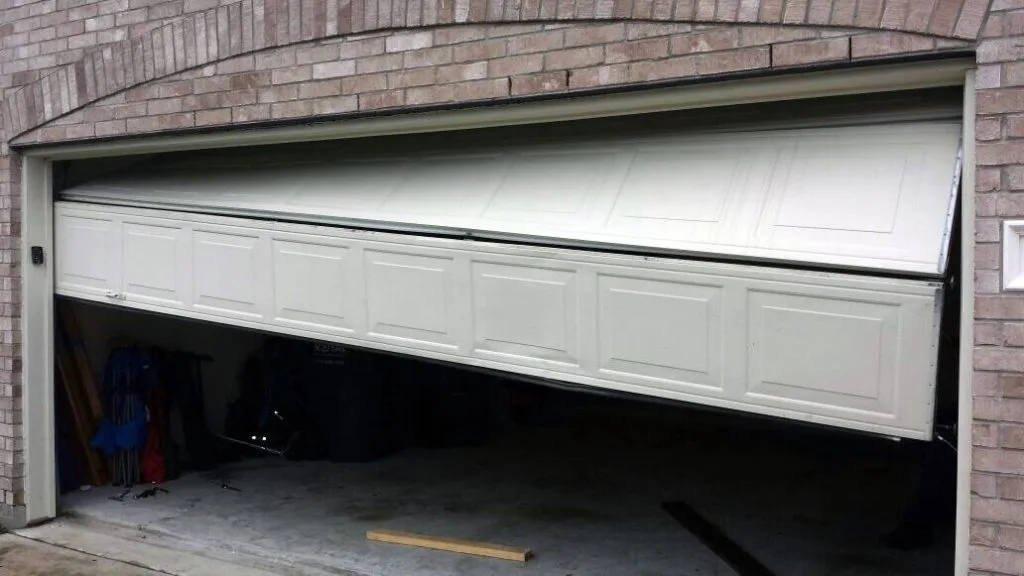
Like any other part of a garage door, its springs can also break over time. If you happen to be near the garage when it breaks, you’ll immediately know that it is the springs just by the loud metal snapping under tension. Another way to know that the springs have snapped is when the garage door weighs twice as much making it hard for the mechanism to even function.
Fixing the garage door’s broken springs might seem intimidating. It plays a huge part in the mechanism and it may look like only a professional can fix it. But in all honesty, once you’ve got the right tools and knowledge, this is a repair that you can definitely DIY.
However, it is important to keep in mind that depending on the type of spring your garage door has, it might take more effort on your part especially if you are unskilled and do not have the right tools with you. You might want to consider getting a professional to look at it for you. Otherwise, some types of spring only require a little bit of effort on your end to fix it.
Types of Springs
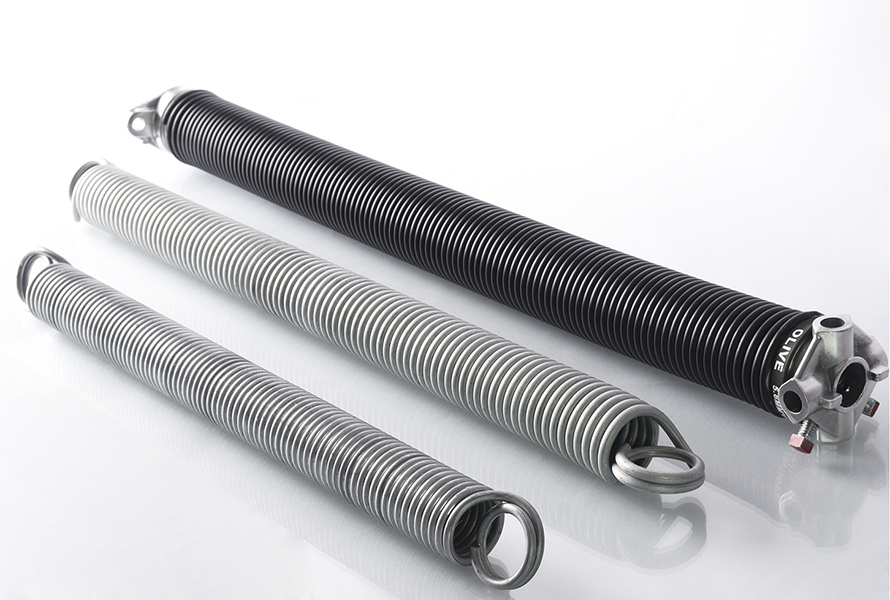 There are two main types of springs that are most commonly used in today’s garage doors. These springs are commonly used for standard garage doors. These comparisons can help you determine whether you’d like to do the repair yourself or get help from a professional.
-
Extension Spring
An extension spring is a thin and long spring that goes through every horizontal door track. When the door is closed, its springs are loaded through stretching and elongating the springs. This is the easiest to fix and can easily be done without the help of a professional.
-
Torsion Spring
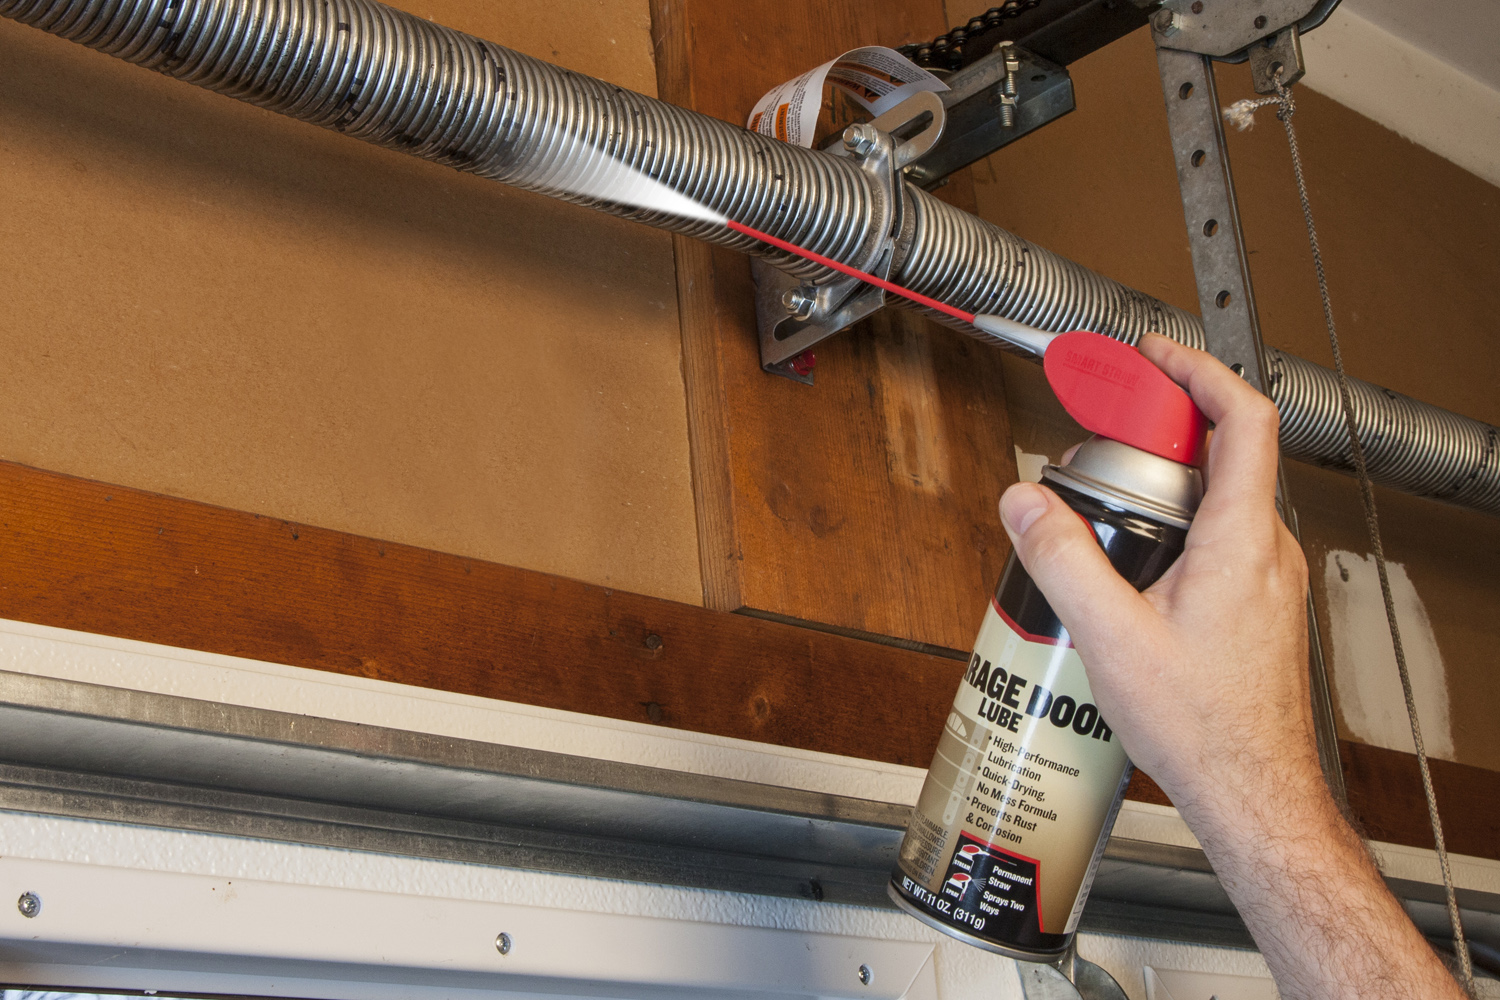
The second one is the torsion spring, which is a thicker-looking spring situated on a metal rod that is directly above the garage door. Torsion springs load up the tension as it twists while the garage door closes. This is quite heavy-duty and it is recommended to have a professional repair this when it breaks.
-
Side Spring
Side Springs are a special type of spring which is a one-piece door that has vertical springs on both sides. While this is no longer commonly used, some houses still have this mechanism.
Both the extension and torsion springs load on tension when the garage door is closed. It releases the tension once the garage doors are opened up, helping to lift the heavy door. When the garage doors are opened all the way up, the springs are in its relaxed state.
Anatomy of Your Garage Door
All regular sectional garage doors (of either type) use pulley, cable, and spring systems. The pulleys are steel wheels or drums which wrap around the cables. The cables simply transfer the force of the springs, whether it is opening or closing, to help carry the weight of the door.
-
Extension Springs
Garage doors with these types of springs have two sets of pulleys that are often called sheaves. There’s one at the end of each spring as well as one at the top of the vertical door track.
These springs also have two cables on both sides as well. One is connected at the bottom of the door which runs through and over the pulley above the door which is also attached to the door track. The remaining cables are there as safety cables that run through in the middle of the springs. These safety cables are there to restrain the springs if in case they break from too much tension. Extension springs are always made with safety cables. -
Torsion Springs
Torsion springs, on the other hand, have a pulley at each end of the metal rod which runs through the springs. Each pulley has a cable attached to the door’s bottom. The springs and pulleys are attached to the rod so that they rotate together. The rod twists when the door closes, and winds up the springs, creating tension. The springs release the tension when the door opens, and turn the rod in the opposite direction.
Guide to Replacing Broken Springs
-
Extension Springs
Extension springs, are generally very easy to fix and are usually done without too much effort. The reason for this is that it does not deal with the heavy spring tension, unlike the torsion springs.
- Open the garage door (to relieve the tension from the springs)
- Put clamps or locking pliers on the tracks to secure the garage door
- Dislodge the spring from the pulley and track bracket
- Disconnect the safety cable on one side
- Attach the new spring and reinstall the pulley
- Reconnect the safety cables
-
Torsion Springs
While fixing garage doors with torsion springs are strongly discouraged by the professionals. Knowing what exactly and how it is replaced is something worth knowing. Anyone with limited skills, can of course always get a professional to help them, just be prepared for the costs and make sure to take note of how they repair it for the first time so you’ll have an idea the next time it happens.
Torsion springs are a little too intimidating to work with especially that they carry a lot of tension. The key to DIY-ing this not-so-easy repair is to keep in mind to take extra precautions when repairing it.
Torsion springs are quite tricky but manageable to fix. You can easily find YouTube videos of these that will guide you to the step-by-step process. However, the trickiest part of replacing torsion springs is dealing with the heavy-duty springs. Replacing torsion springs requires unwinding the spring to relieve the tension and then winding it back up in order to secure the tension. There are special tools needed to do this and using regular screwdrivers and rebars are strongly discouraged as the tension of the springs might break the tools.
It is important that you also get the right kind of spring that’s perfect for your garage door, or else it might cause further damage or accidents.Here is the brief step-by-step guide on fixing the broken Torsion springs:
- While the garage door is closed, carefully unload the tension of the springs by winding them with a winding bar.
- Detach the springs from the rod bracket
- Disconnect the cables and pulleys
- Once the pulleys have been disconnected, slide them off the rod
- Replace the springs and reconnect the cables and pulleys
- Bolt back the ends of the spring to the central rod bracket
- Wind up the springs carefully using a winding bar
Make sure to test the door afterward to check whether the springs have been secured in place. Take note of the right tension and hold of the springs as it brings up the garage door. This will help you assess whether you need to turn it a bit more to get the right balance of the garage door.
The steps are fairly simple:
Cost of Having a Professional Repair A Garage Door Spring
On average, the cost of a professional replacing your garage door springs range from $200 to $400. This will, of course, depend on the number of springs that have been damaged and the fees charged by your hired professional. While it can run a bit on the pricey side, this is ideal for those that simply want an ease of mind to have their garage doors fixed.
Knowing Which Springs to Replace
Once you’ve detected a broken string, is it required to have all springs replaced as well? The quick answer to that is no. A perfectly working spring can still work just fine. Replacing the old spring with a new one will not affect the performance of the other springs. You might just save more money fixing only the part where it is broken.
Although some may argue that replacing all springs on torsion springs are much better since you’ll have to disassemble everything. It would a lot of make sense to just replace the springs rather than spending more time disassembling and replacing it every time one goes off to break. Some may also argue that replacing them in one go is much better to optimize the new quality of your garage door.
Garage door springs play a significant part in the mechanism of the garage door. Without the tension that it has, it would be very difficult for garage doors to open which might cause other parts of the garage door to fail and get damaged as well. Which is why it is very important to have it fixed immediately once it is damaged.
Make sure to take extra safety precautions when fixing the springs of your garage doors. Should you find it uncomfortable or hard to repair it on your end, you can always contact a professional that can assist you to diagnose, repair and prevent these kinds of repairs in the future.

