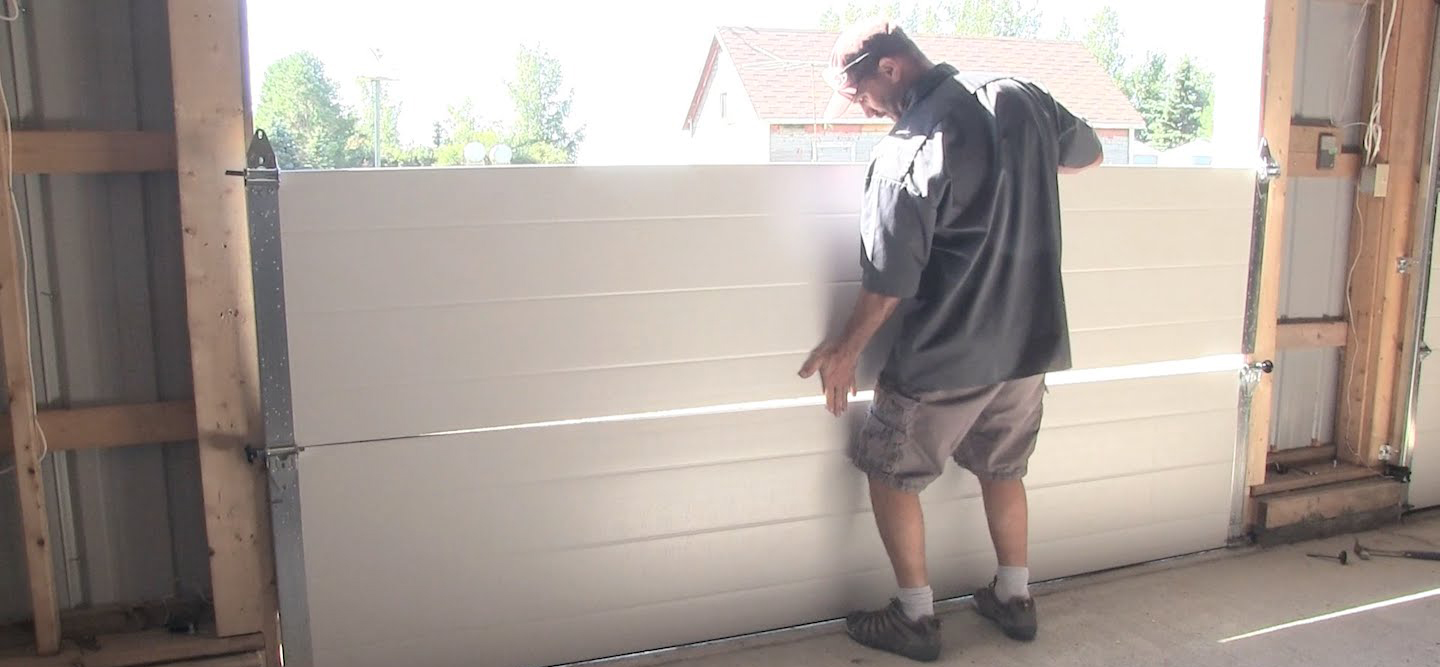
h3If you are one of those who want to play multiple roles in your house, this article would interest you. Yes! It is surely fun playing a technician, a plumber or an electrician for yourself at your home. It not only saves you finances but it also gives you a feeling of satisfaction that you can maintain your household without taking any external help. For instance, if you want to know how to install a garage door, here is what you need to know to stay self-sufficient and cost-effective. This is a comprehensive account of the procedure which you can follow step by step to install your garage door with minimum or no help at all.
Preparation:
Well before even you get started with the procedure, you should be well-prepared and well-informed about the technical aspects of the installation. For that purpose, you can keep the following things in your mind:
-
Manufacturer’s manual:
You should always go through the details given in the manufacturer’s instruction manual so that you get the basic knowledge of the process of installation.
-
Get Familiar with the parts:
The garage door must have come with the extra bits and pieces without which you will not be able to install the door. So, it is always a good idea that you get familiar with each of them, so that you can use them later on.
-
Tools:
You will have to keep the tools within your range so that it is easier for you to take whichever you want when you start the installation. The most commonly needed tools include Hammer, Power drill machine, Nails, Screwdriver, Ladder.
-
Panel Prepping:
The very last step before you start the installation is the preparation of the panel. Fix the hinges of the door if they are not already attached. Slide on the rollers on the hinges and also do not forget to attach the weather-resistant stripping as provided by the manufacturer.
Installation of the Garage Door:
Now comes the stage of the installation of the garage door. It will be good if you follow the following 8 steps to do it:
Step 1: Measurement and Placement of the door:
The very first thing you will do is to check the size and alignment of the door in the given space:
- Make sure that the door has the same dimensions as the frame
- In case of a difference in the size, do not proceed further. Instead, get your garage door replaced.
- Adjust the space under the door keeping in mind the weather-stripping
- In case you do not have a helper at this stage, you can try fitting the panel for the time being, using the driving nails at a specific angle
- Be careful while doing it as you should not let the nail get through to the panel.
Step 2: Assemble the parts:
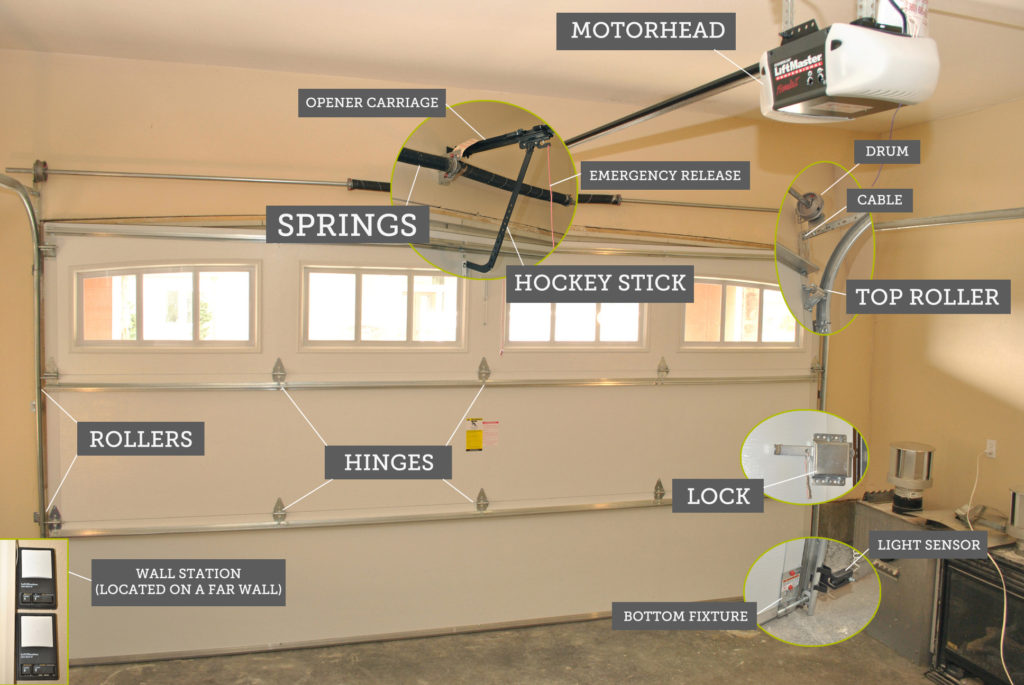
Now you can proceed to the next step which involves the assembly of the horizontal, curved and vertical parts separately.
- Connect only the vertical parts according to the instructions in the manufacturer’s manual.
- Also re-check the length of the vertical section as it should fit with the height of the door.
- Now fix the vertical track with the first panel. You can do it by simply sliding the rollers and then lower it so that it falls into its place.
- Start with one side and then go to the next.
- Here you need to be mindful of the fact that the level of each track is correct and the panel stays in the exact center.
- Now loosely tighten the screw of the track with the door frame as you might need to make adjustments later on when you will add the second panel.
Step 3: Set up the next panel:
Here you will need to have a helper for sure because now you need to add the second panel on the first panel. You may call an expert for the purpose to make things easier for you.
- You do not need to attach the outside hinges to this one initially
- First, angle each of the unattached rollers with the track so that you can then fix the rollers and hinges with the second panel.
- Now slide along the roller with the attached hinge on to the panel before you secure it with the screws.
- Do not try to attach the holes as otherwise the alignment of the roller and the track will not be possible.
Step 4: Connect the hinges of the first panel and the second panel base:
- Do not forget the pre-drilling of the holes which will connect the second and third panel as it will be easier to do when you have them in the horizontal position on the floor instead of doing it when it is in the standing position.
- Now you can easily connect the second and third panels in the prescribed manner.
- Here, you will tighten the screws completely once you make sure that the panels are perfectly aligned.
Step 5: Fix the track up in the wall:
- While you do it, again ensure that the screws are loose enough so that you can adjust them if required.
- Also do not forget to keep an eye on the level of the track and the alignment of the panels to avoid malfunction of the door at the end of the installation.
Step 6: Repeat the process and add more panels:
- Make sure that you have firmly secured the brackets to hold the panels right in position.
- You need to keep checking the level of the door
- Now fix the plates on the top of the vertical track with the wall on both sides of the doorway.
- Make sure that the screws are tight enough to resist the force exerted every opening and closing of the door.
Step 7: Fix the curved and horizontal tracks:
- Always follow the instructions given in the manufacturer’s manual to connect the panels with each other
- It is a good idea to use a ladder so that you can have a rest for the horizontal trac
- You have to keep a check on the level of the horizontal trac
- Now is the time when you will be cutting the track hanger from the rear end to the suitable length to support the track and then to screw it with the frame
- Repeat the same procedure to fix the other piece of the horizontal track
- Bear in mind that the distance between the track should be the same as that of the track on the base.
Step 8: Install the Torque tube
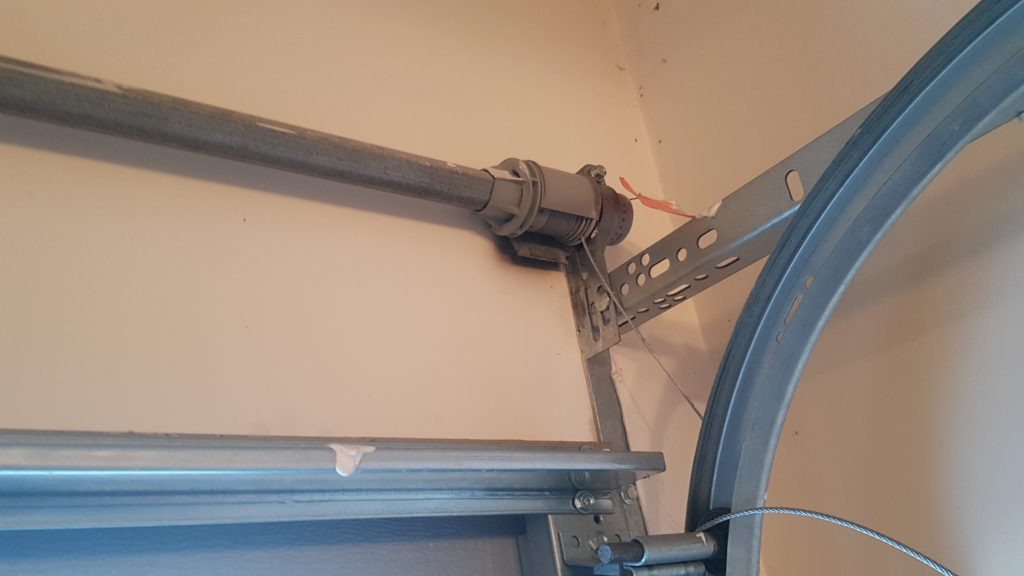
The torque tube is installed if you do not have the automatic garage door opener. It is basically a manual alternative to the automated door opener.
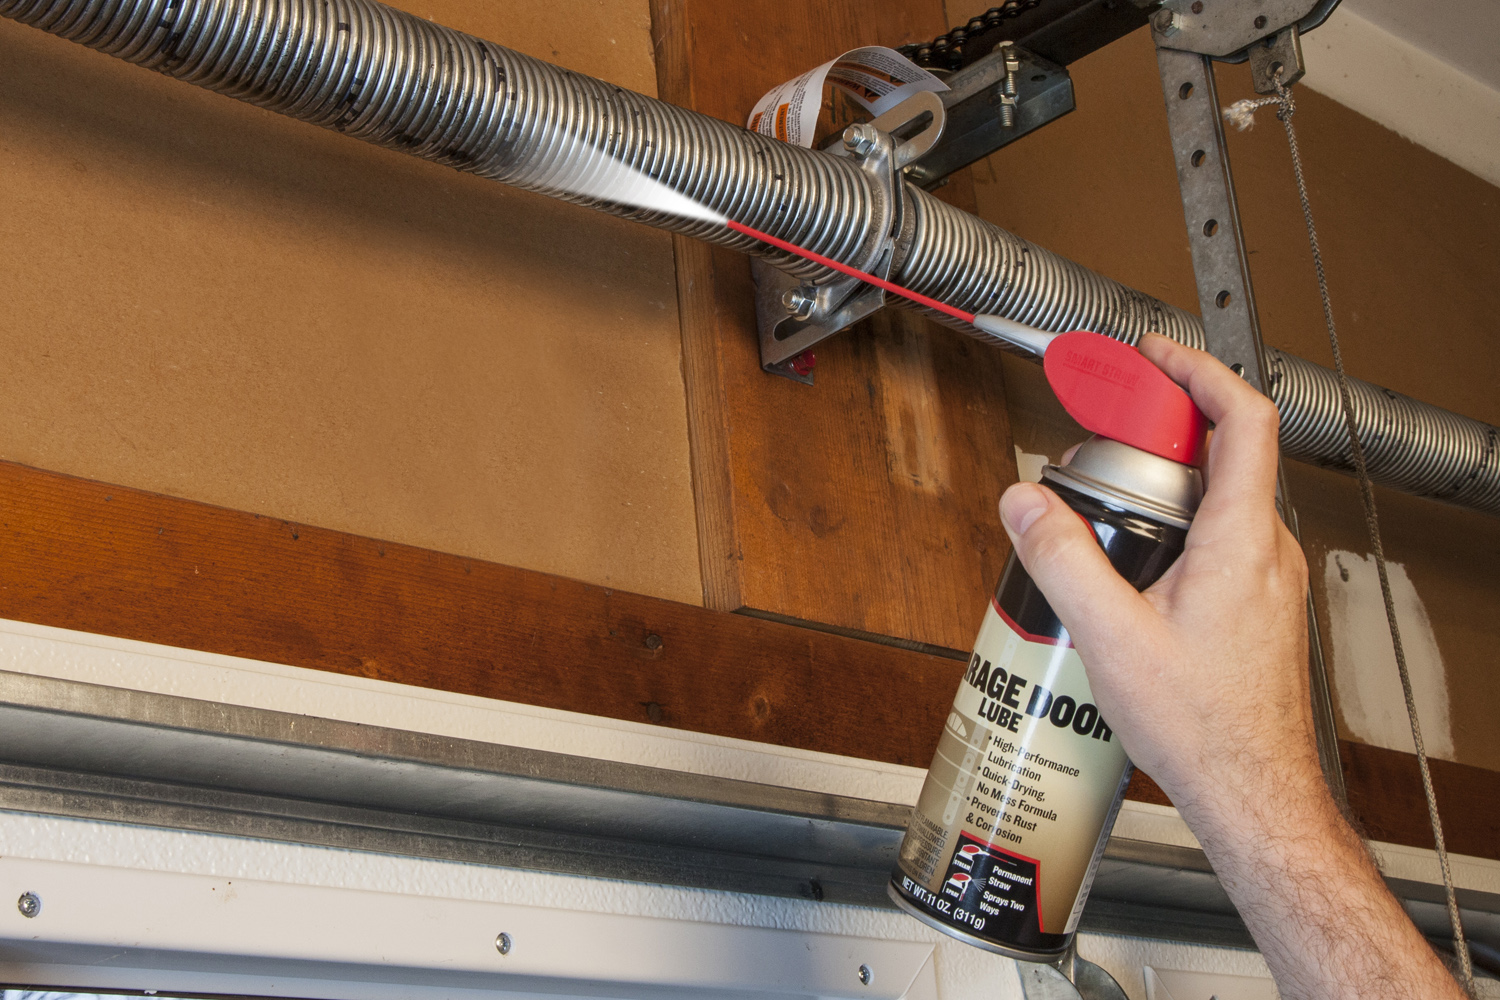
- While you install the torque spring, make sure that you have the safety cable also to avoid accidents. Since the springs may be damaged and fly around in the course of use, so you should take the precautionary measures.
After finishing the task
It is important to check the surroundings once you have completed the procedure
- Make sure that you clean up the place.
- Remove all the extra nails spread all around.
- Get all the obstacles aside like ladder and other tools so that you can check the working of the door.
- Check once again that you have tightened all the screws so that the door is opening and closing smoothly.
- Revisit the alignment of your garage door and also make sure that the tracks are perfectly aligned.
- You can surely adjust the position of the track if necessary
- Do not forget to recheck the rollers being sitting in the right position and that they can move smoothly.
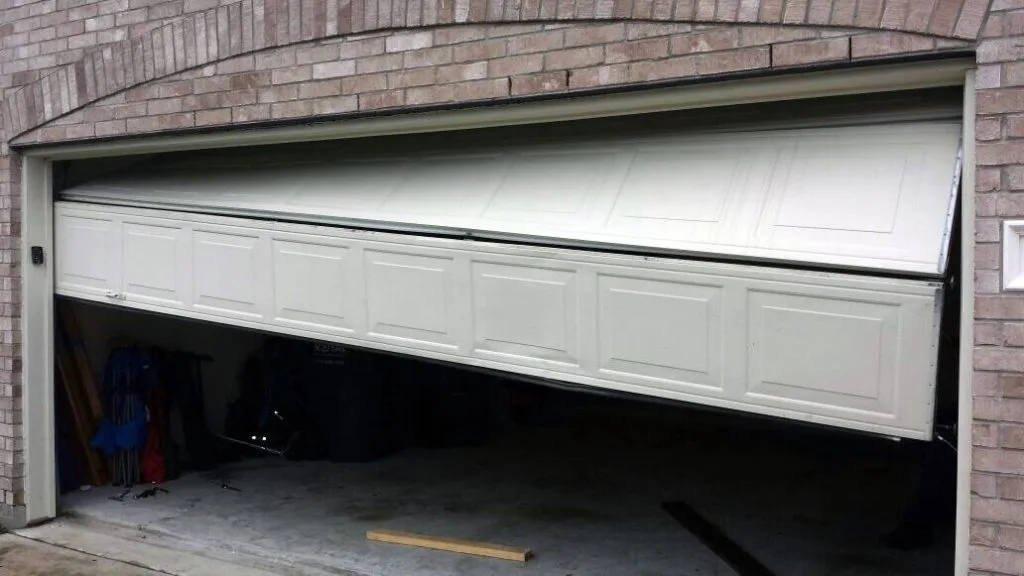
- Make sure that the door remains open on its own even if you do not hold if manually. In case, it does not stay there, you will have to re-adjust the slope of either the horizontal track or the door spring.
So, this is how you can install your garage door yourself. All you have to do is to follow these simple steps exactly in the same manner and you will surely be able to do it like a pro. You will surely feel a great sense of achievement when you are done. All your hard work and dedication will pay off when the garage door will work smoothly.
However, in case of an emergency or if you get stuck during the procedure, you can always call for professional help especially if you are in California. Yes! No matter, which part of the city you are located, we are always there to assist you in Westminster, CA and Cypress, CA besides many other regional offices throughout California. So, you can approach us anywhere anytime as our expert team will respond to your query immediately without any delays. We offer our services at affordable with no compromise on the quality which makes us stand out of the crowd.

